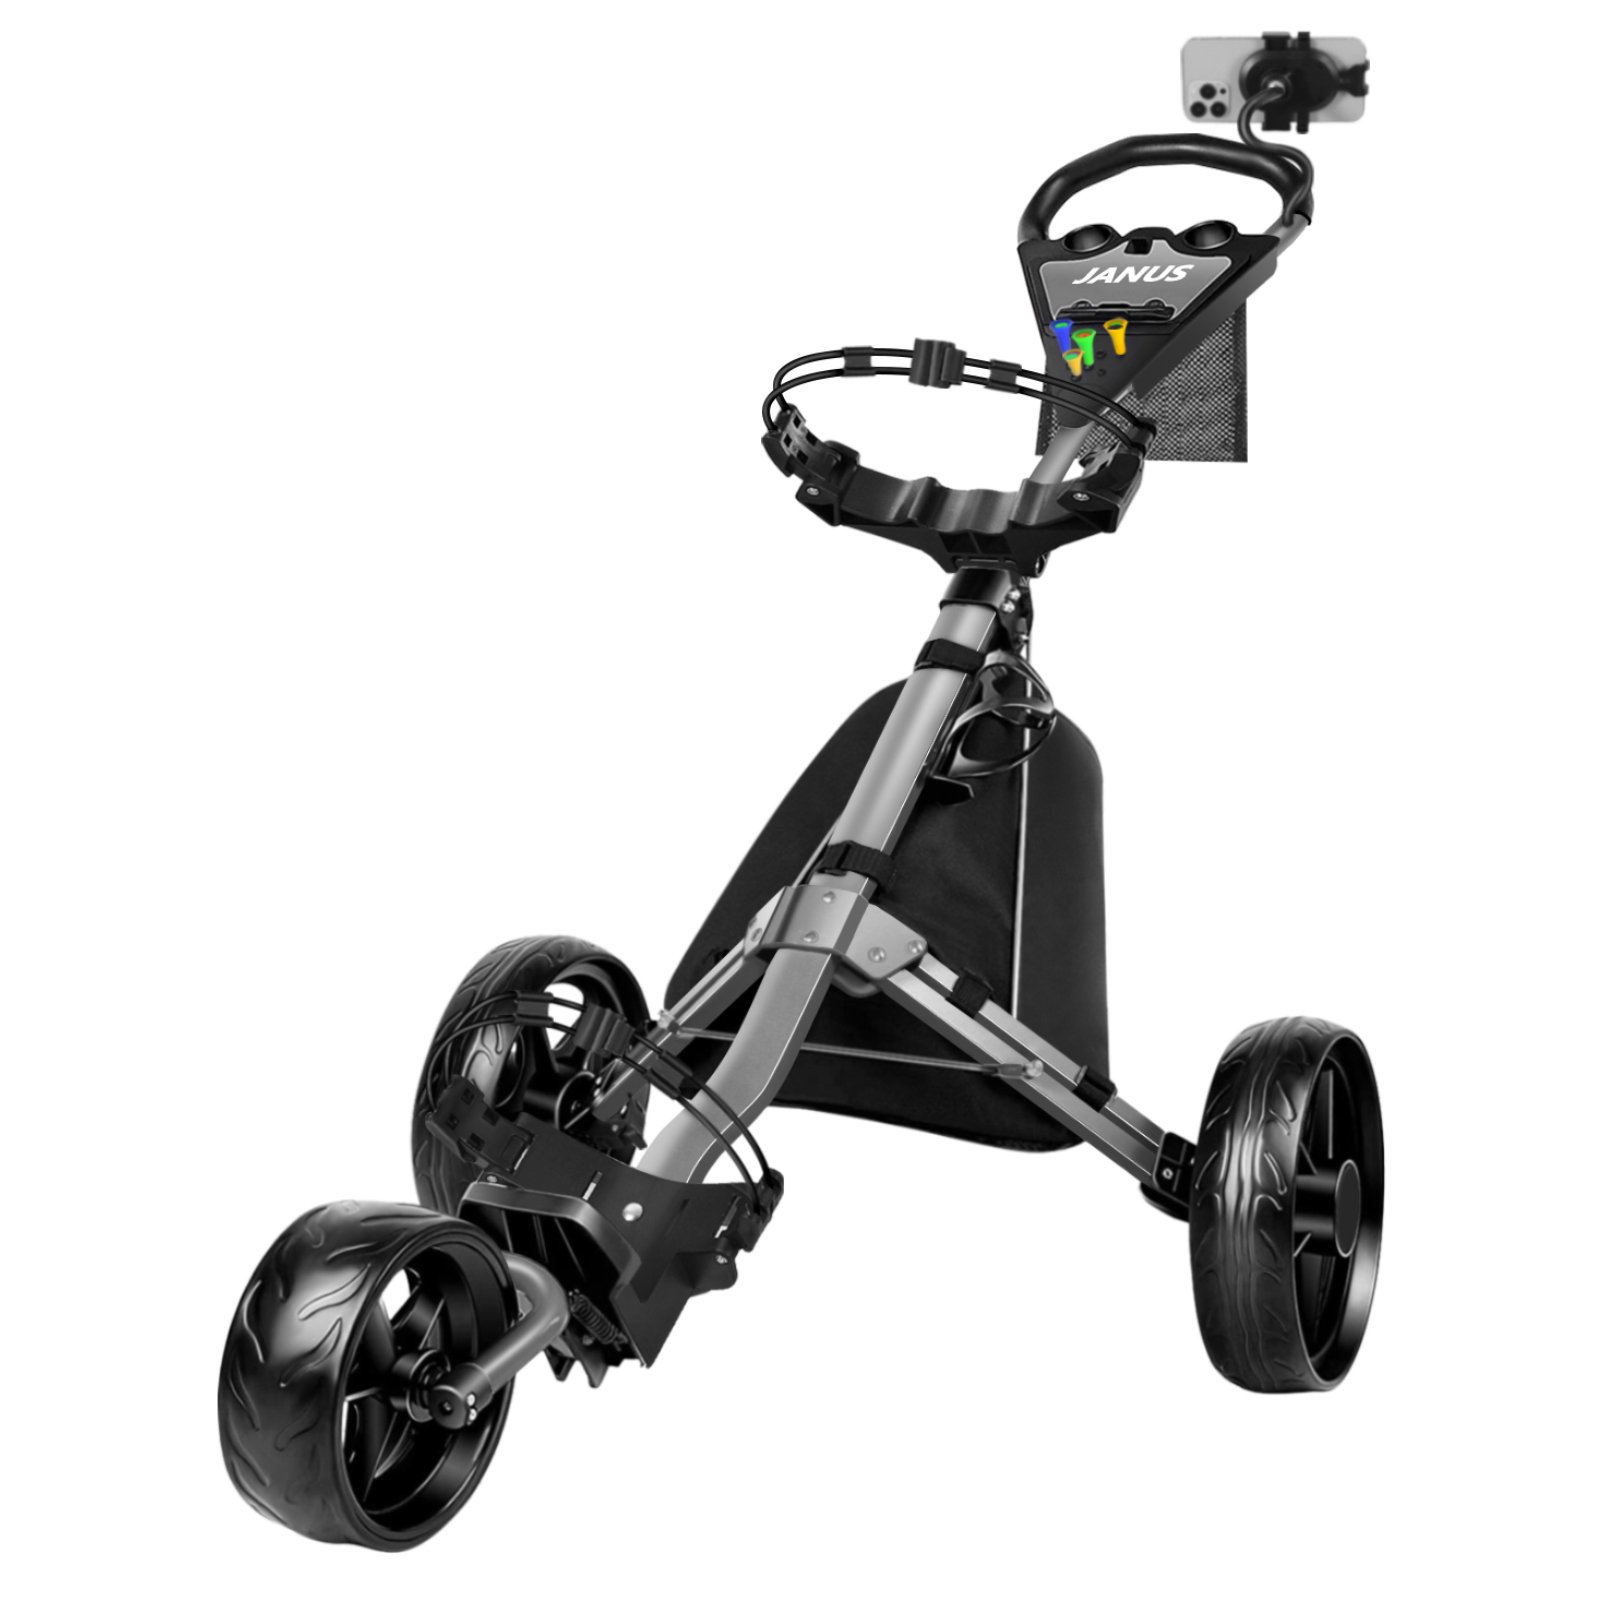
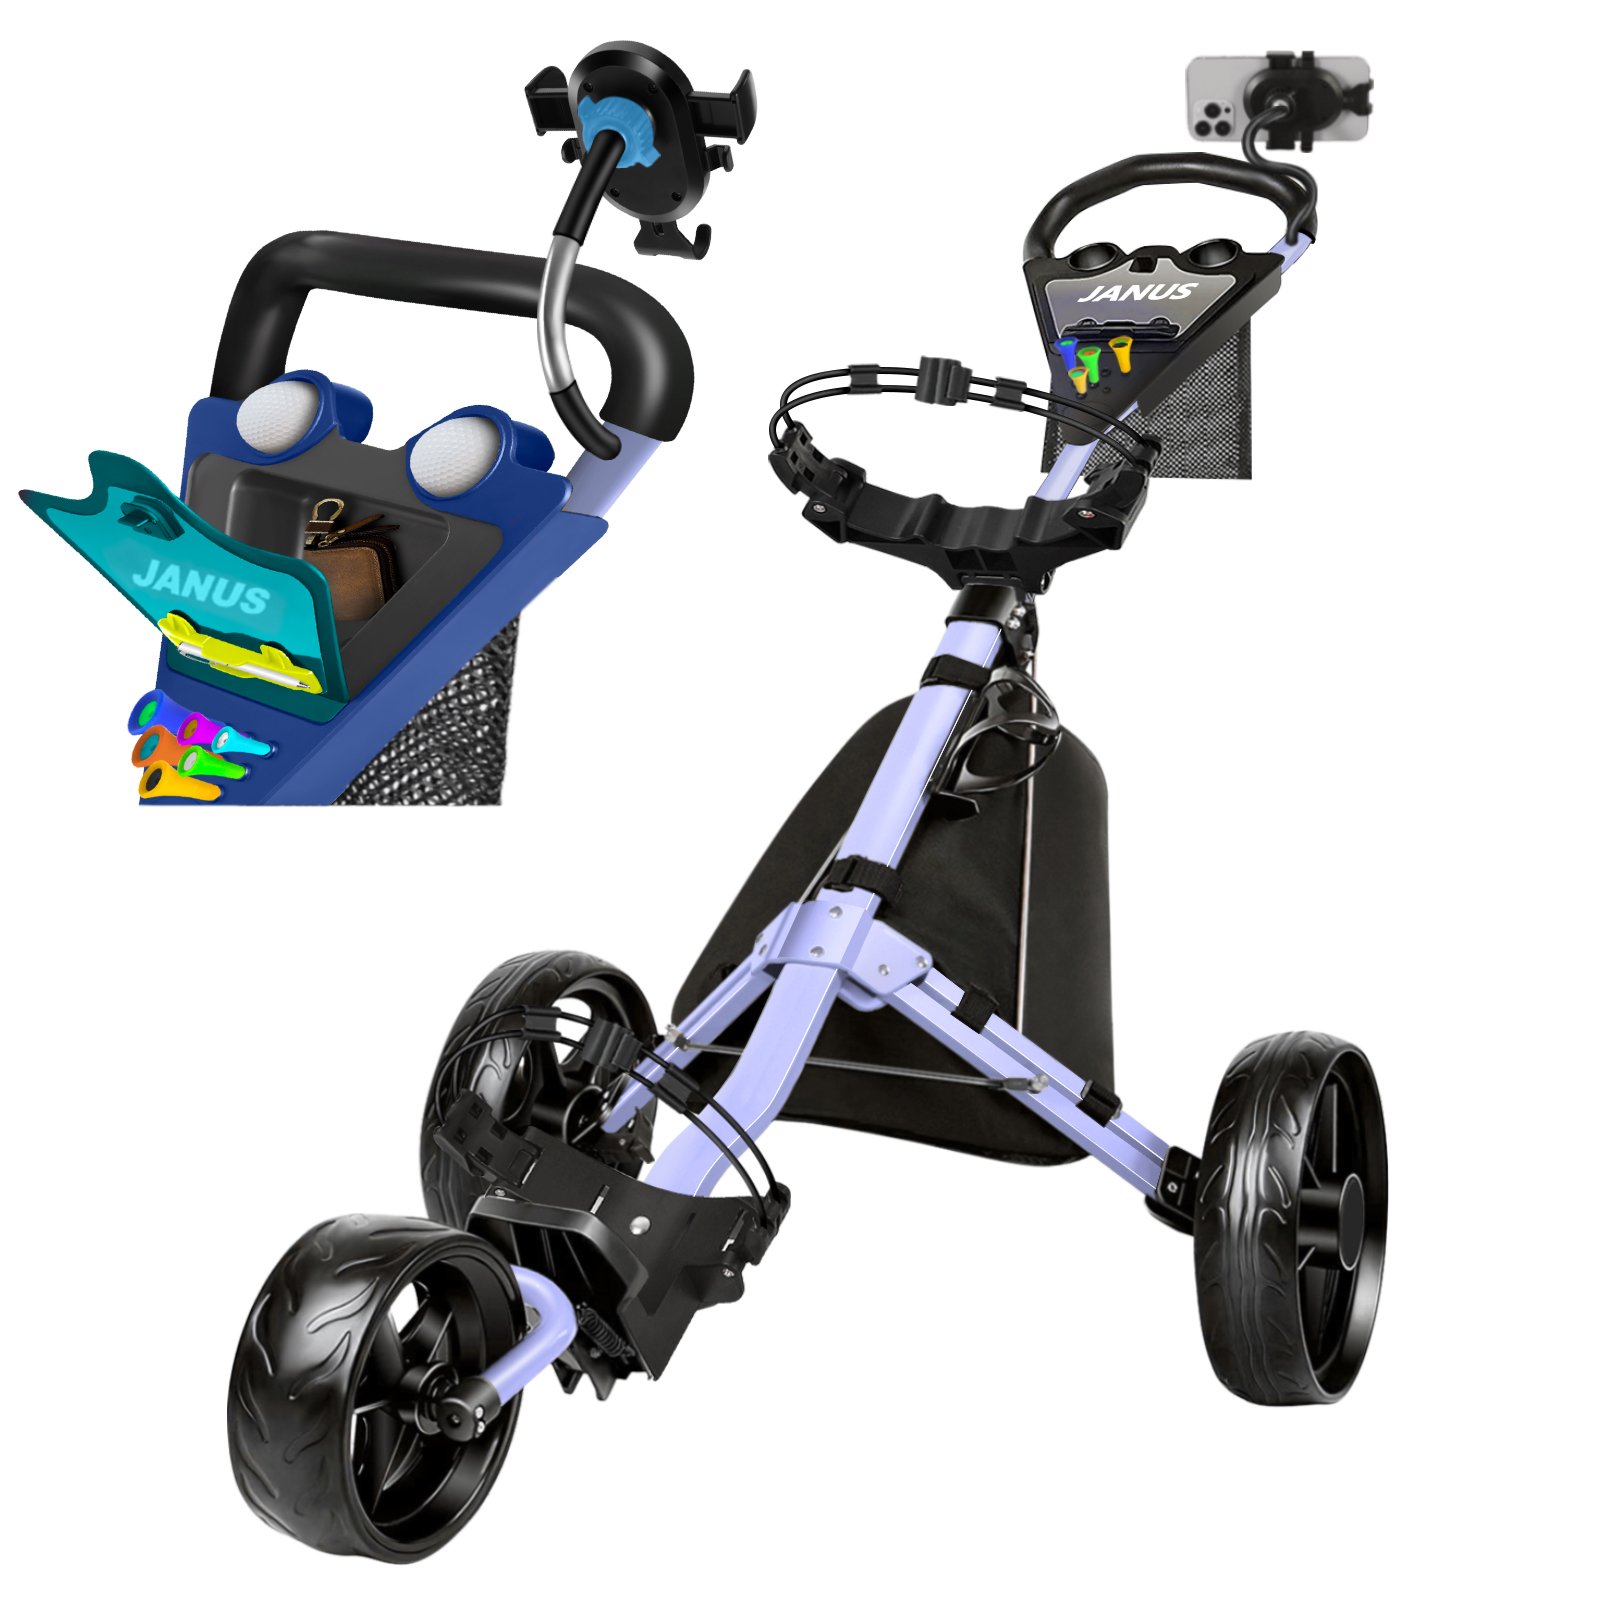
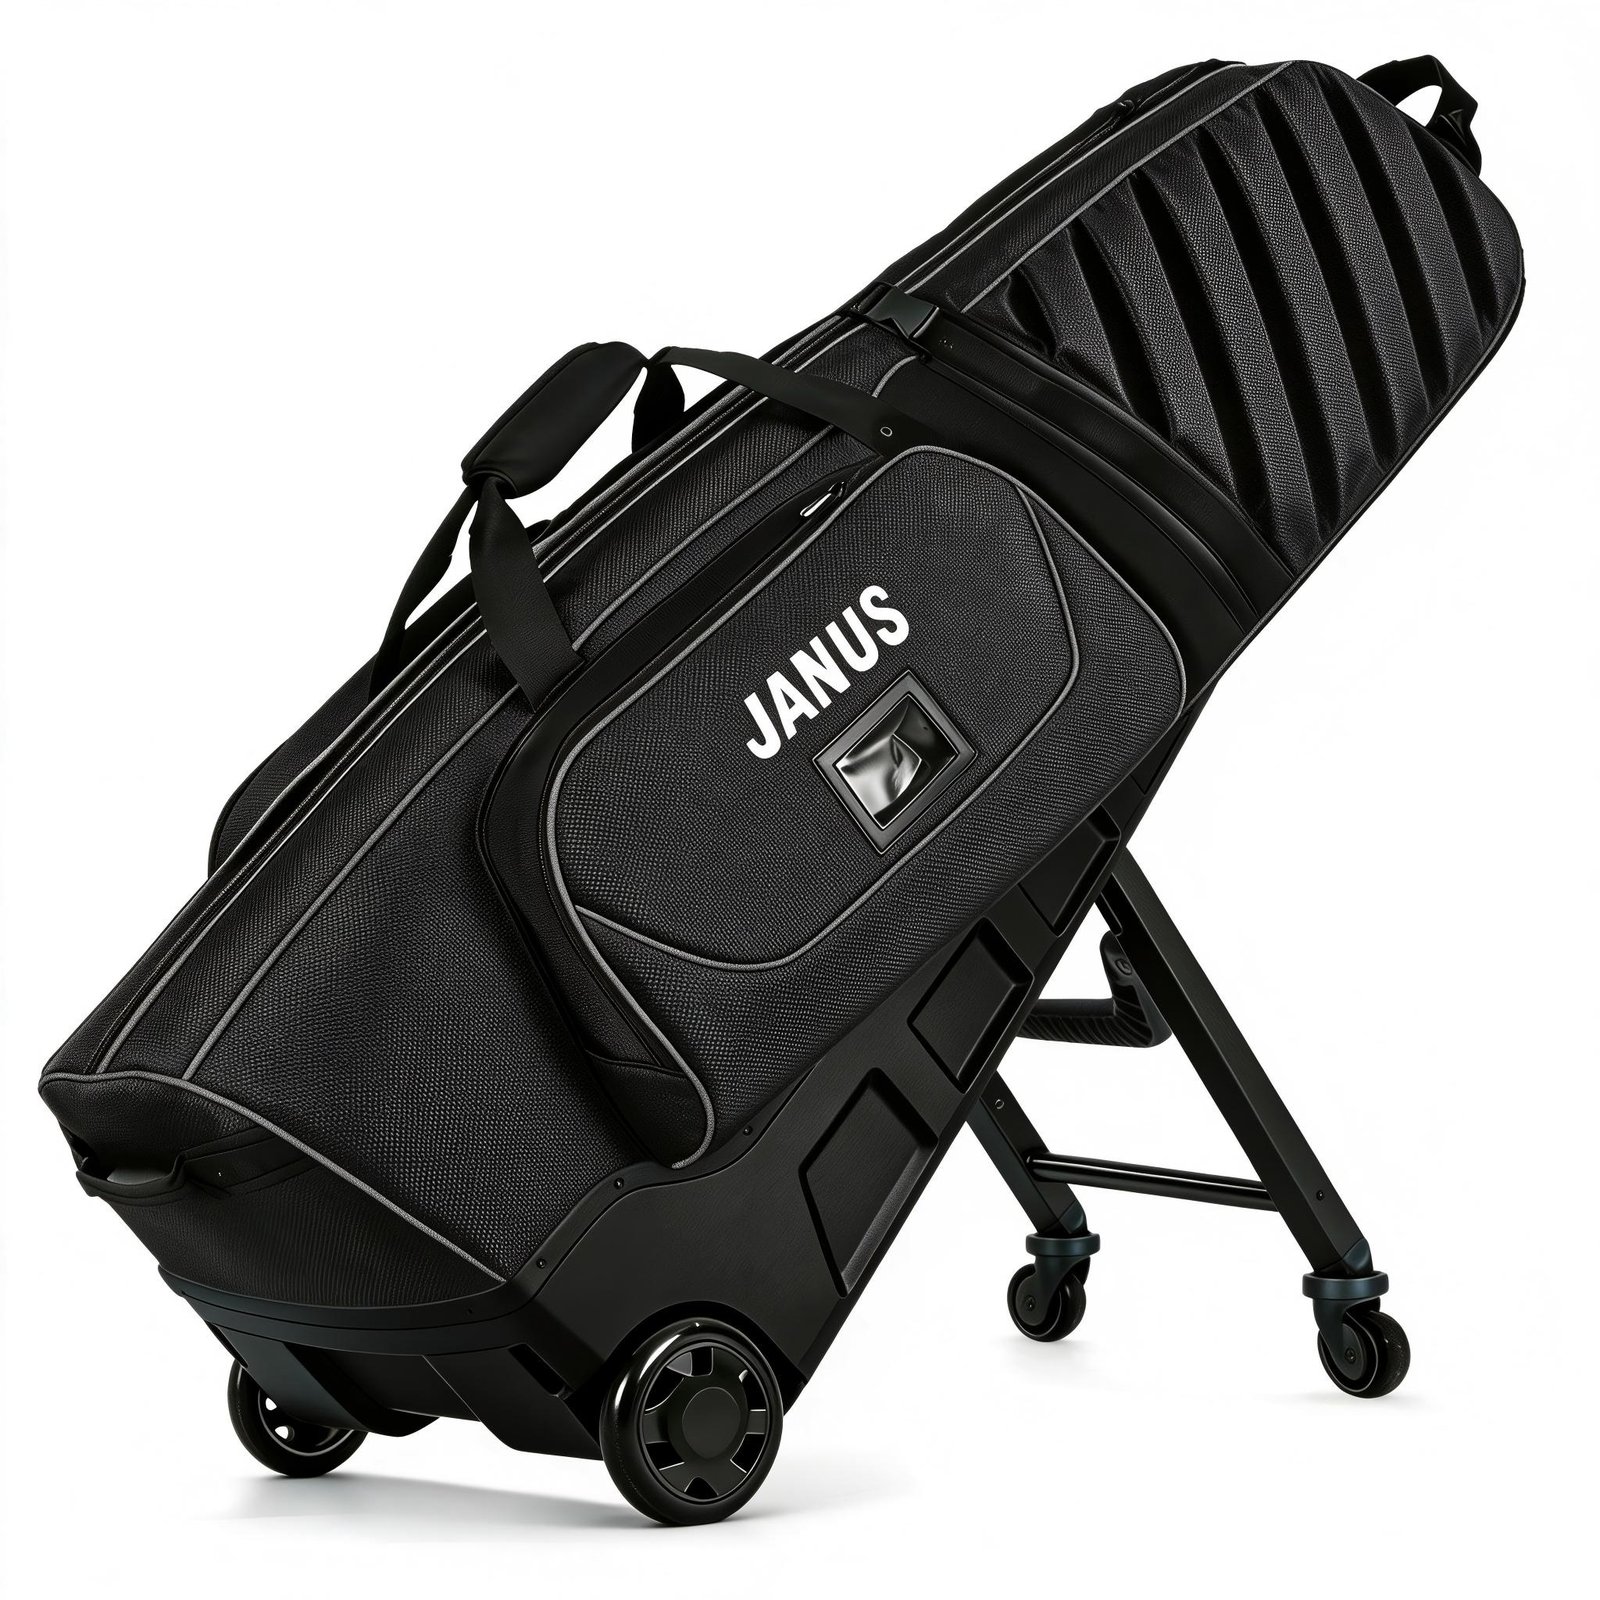
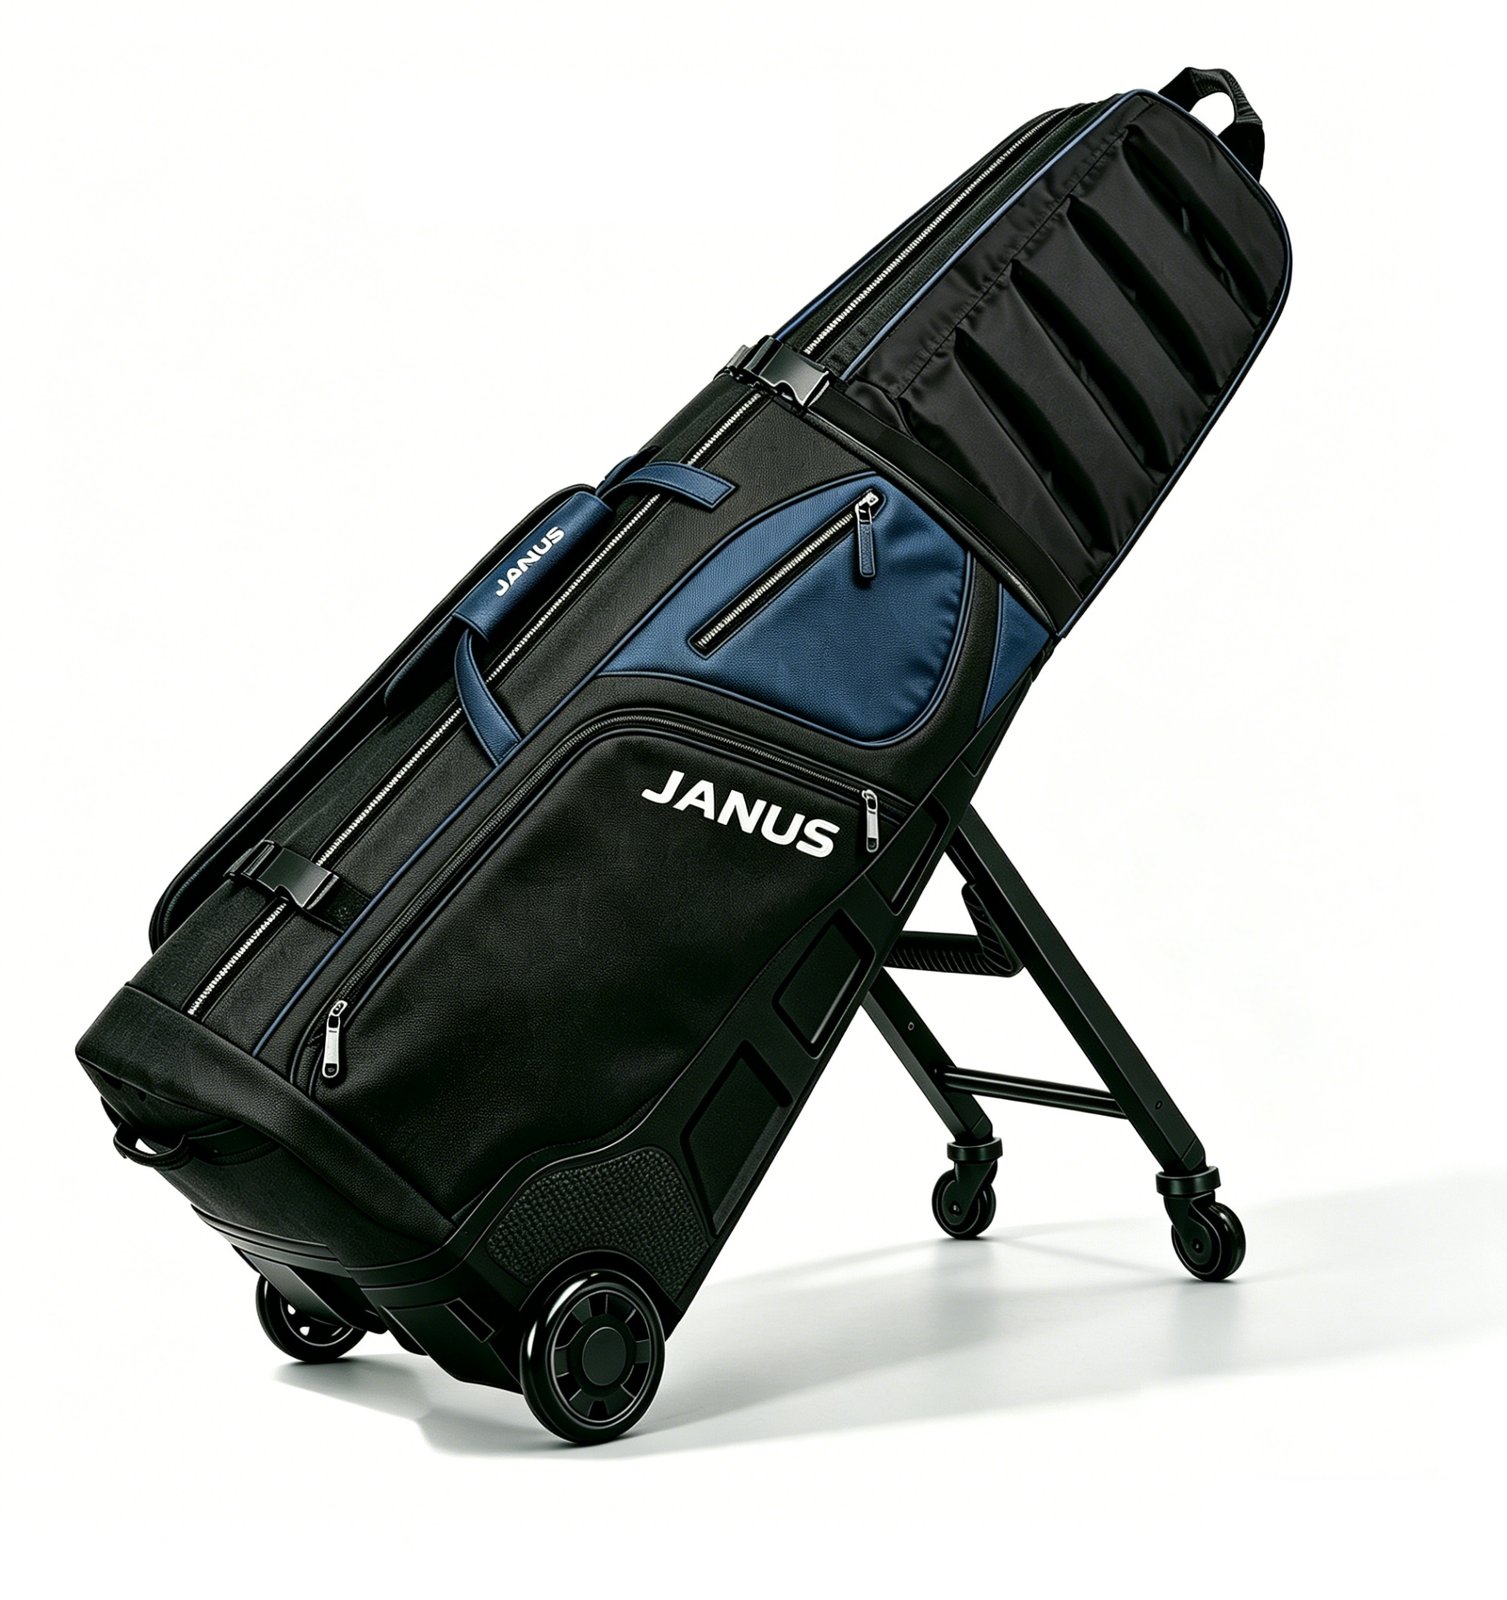
Push-cart Assembly & Operation Manual
Assembly & Operation Manual / GOLF PUSH CART
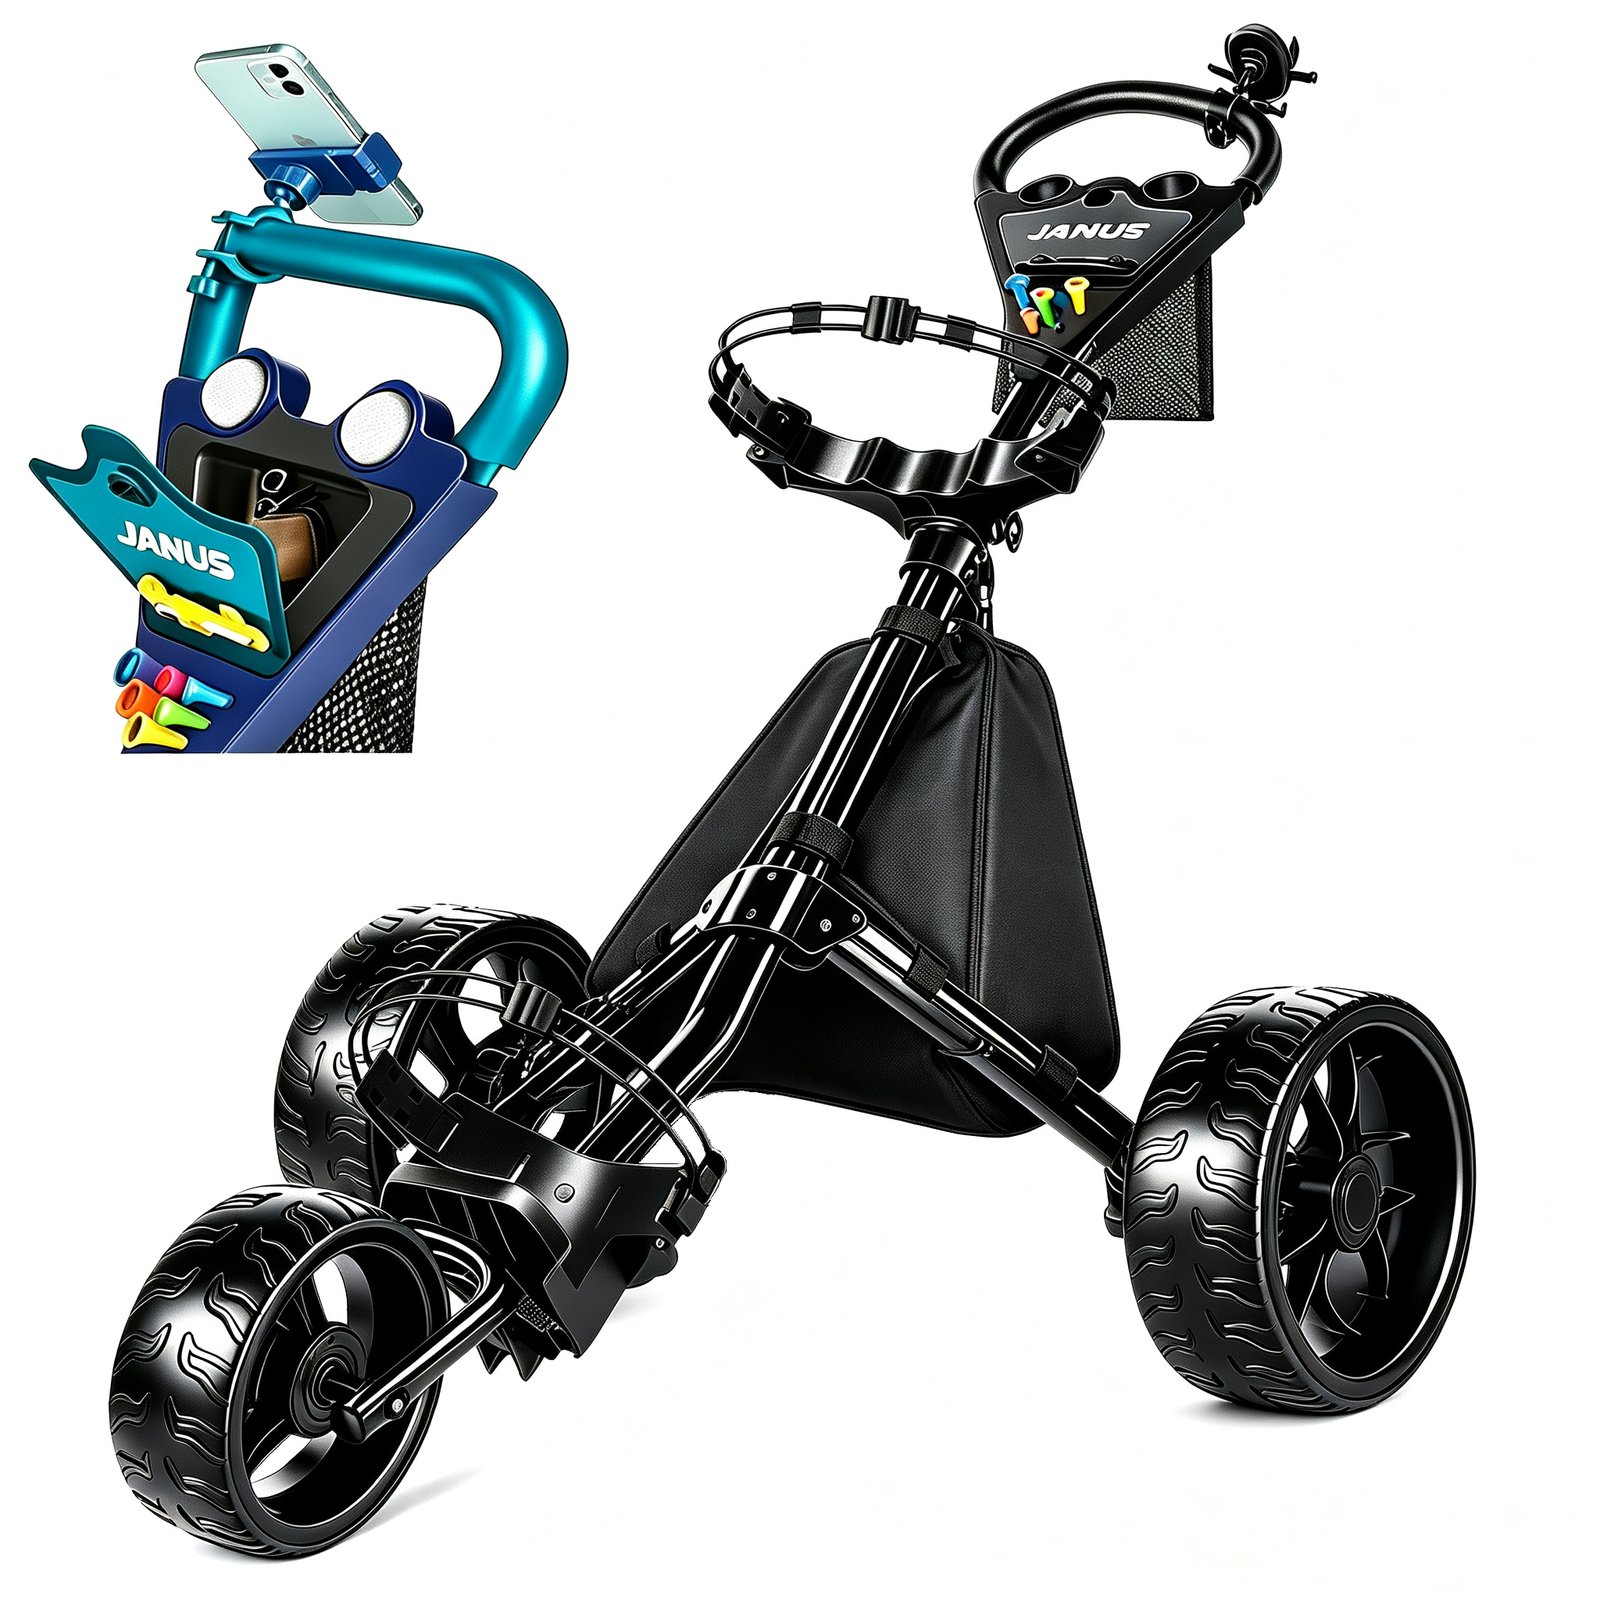
We use this as an example to show you the basic configuration,Different styles of accessories are different, please refer to the accessories manual before use.
The manual photographs show a traditional handle and console. They do not include install steps for an Arc gooseneck holder or a Pace clamp-style holder. Accessory appearance may differ by model; refer to the accessories manual before use.
Parts and function
How to assemble?
-
Please install the two rear wheels first.
Press and hold the button ( Marker 1 ), insert the male bearing latch of the rear wheel ( Marker 2 ) into the female slot, release the button, and ensure that the male bearing is closely occluding with the female slot.
-
Install the front wheel
Insert the front wheel assembly into the hole (mark 3)
Then extend the front wheel (mark 4)
Insert the screw to lock the bottom nut ((mark 5)
At this point, the front wheel has been installed.
-
Deploy the trolley frame and fix it.
Expand the trolley structure ,
Cover and tightenthe cover (mark 6 , mark 7)
to ensure that it will not move up and down.
This is the place where the height of the handle can be adjusted.
The appearance after successful installation
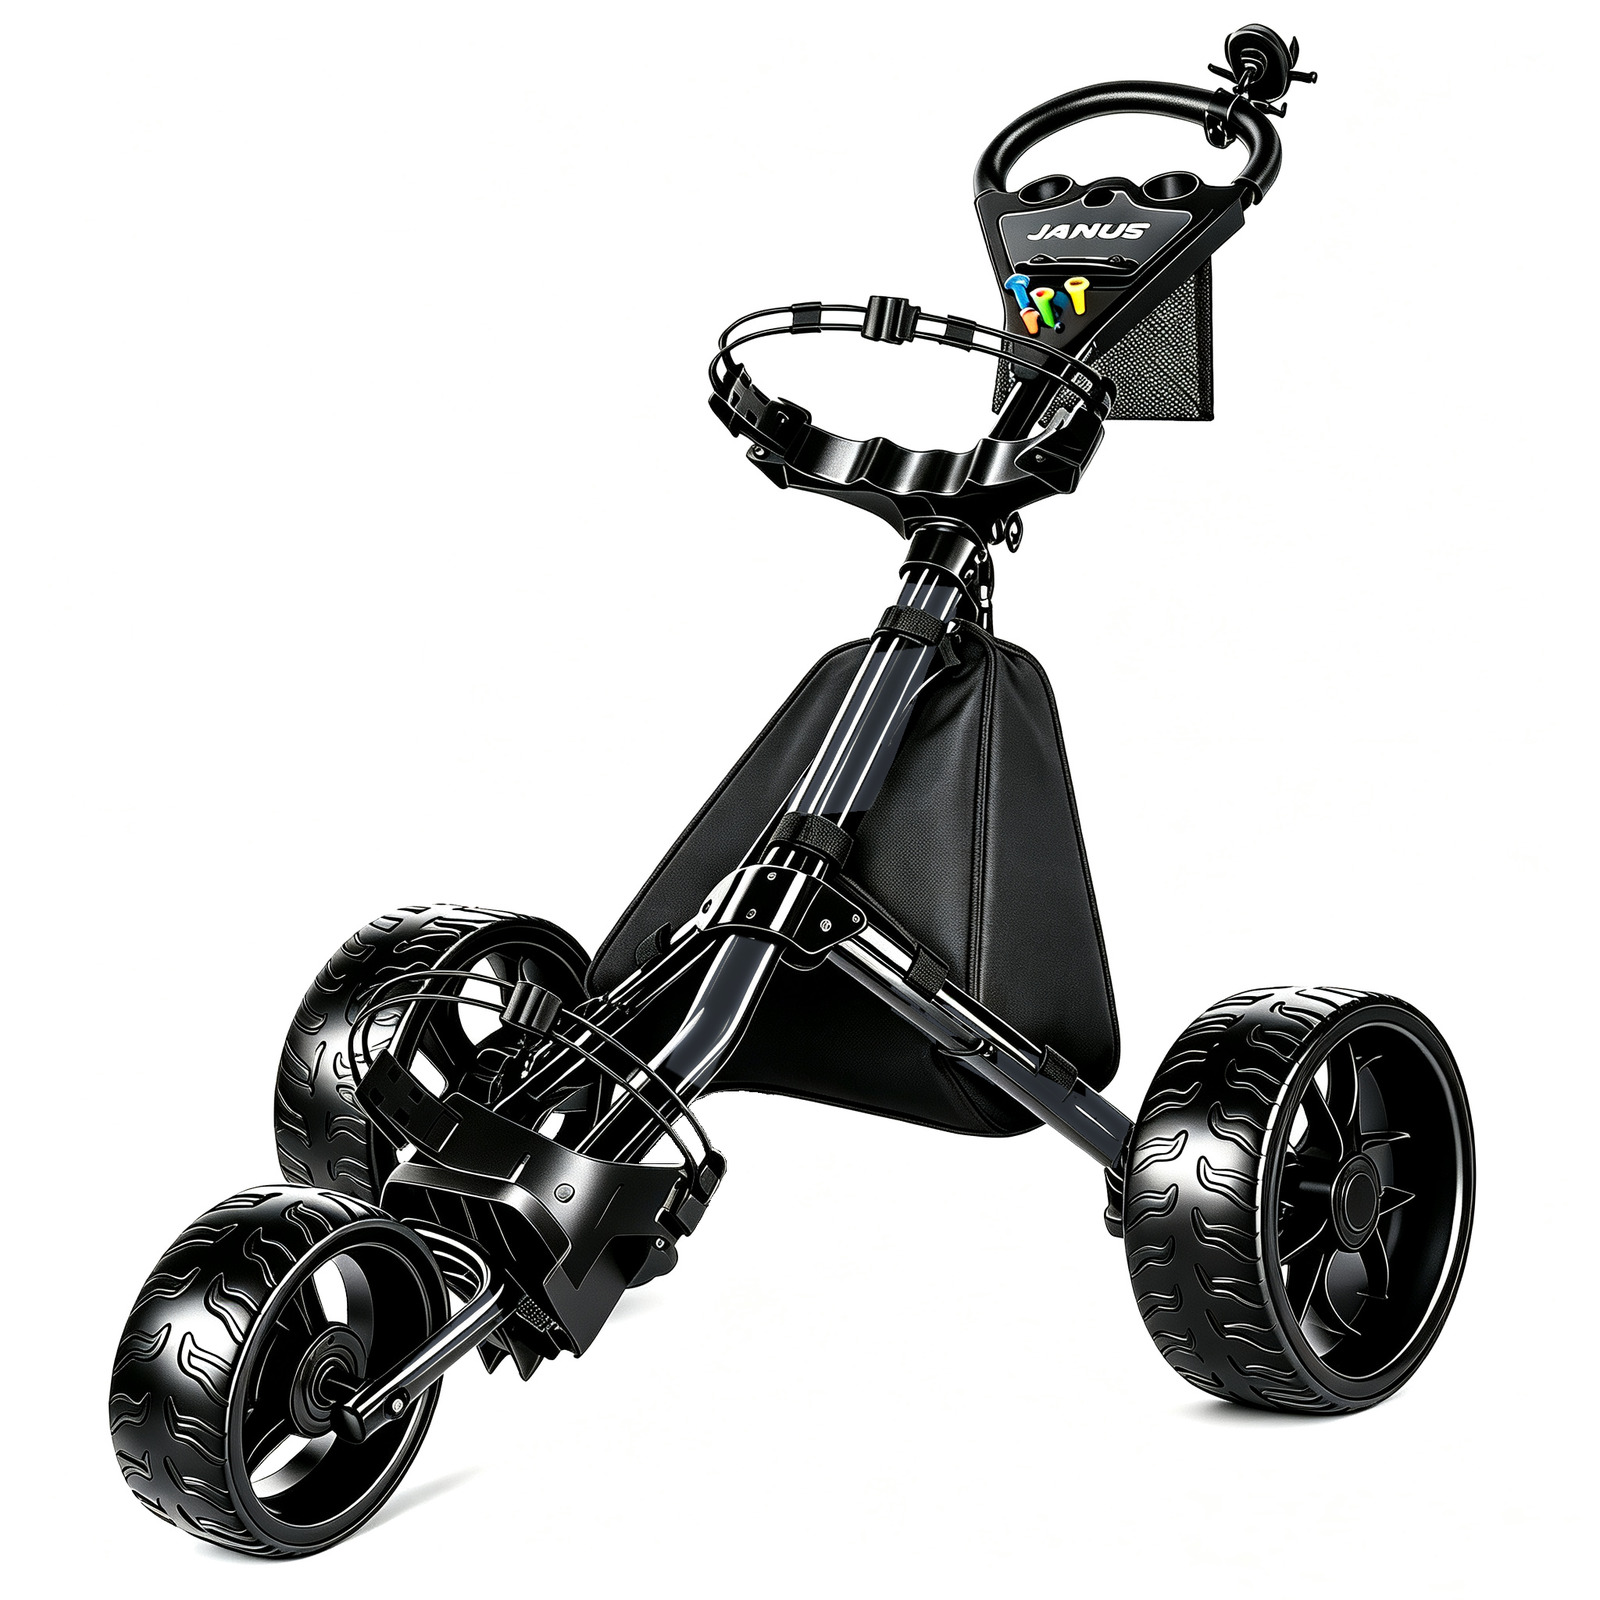
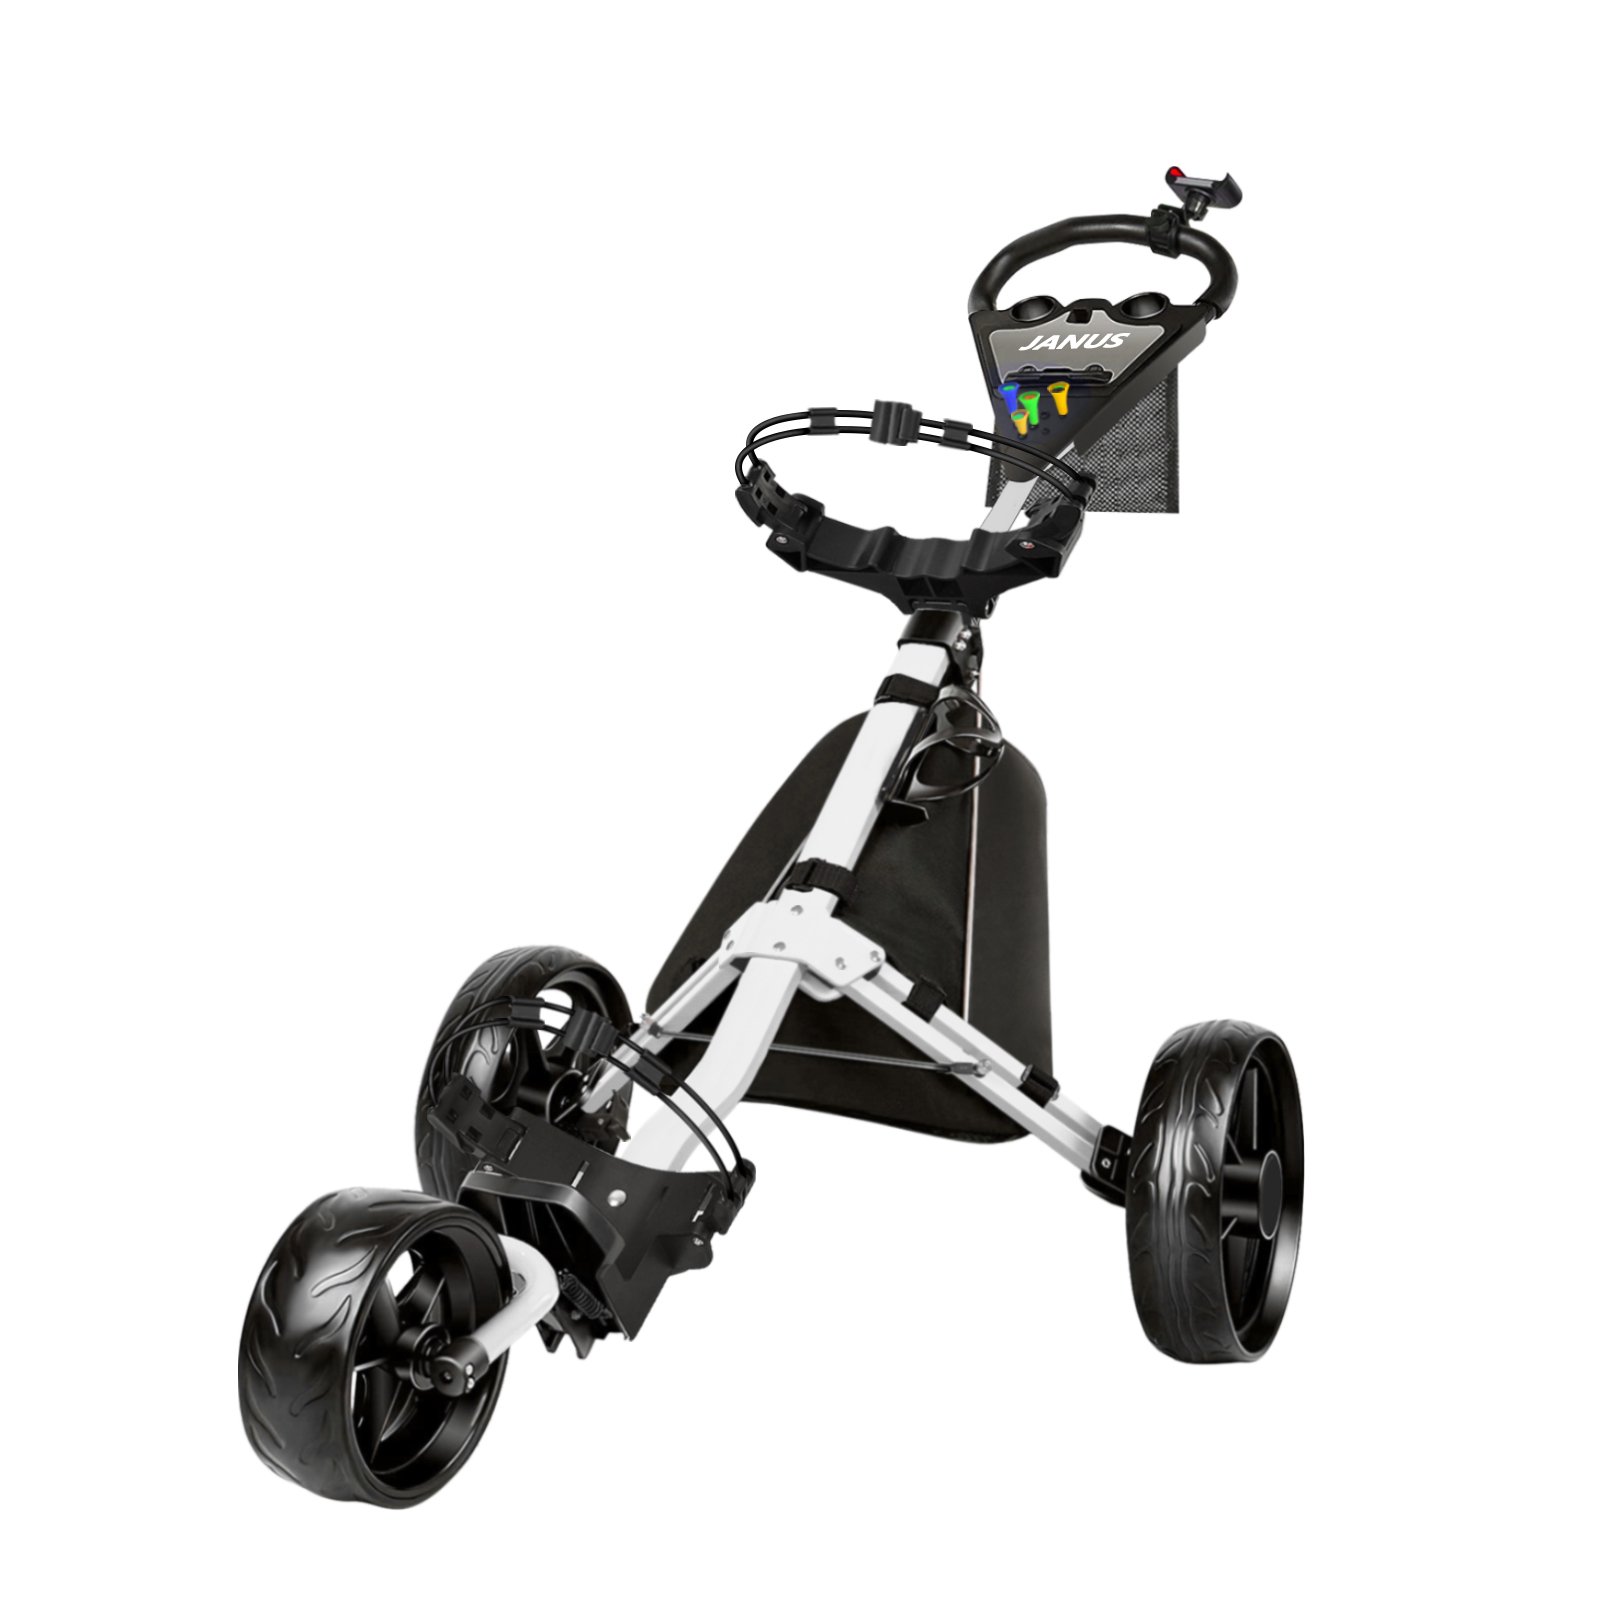
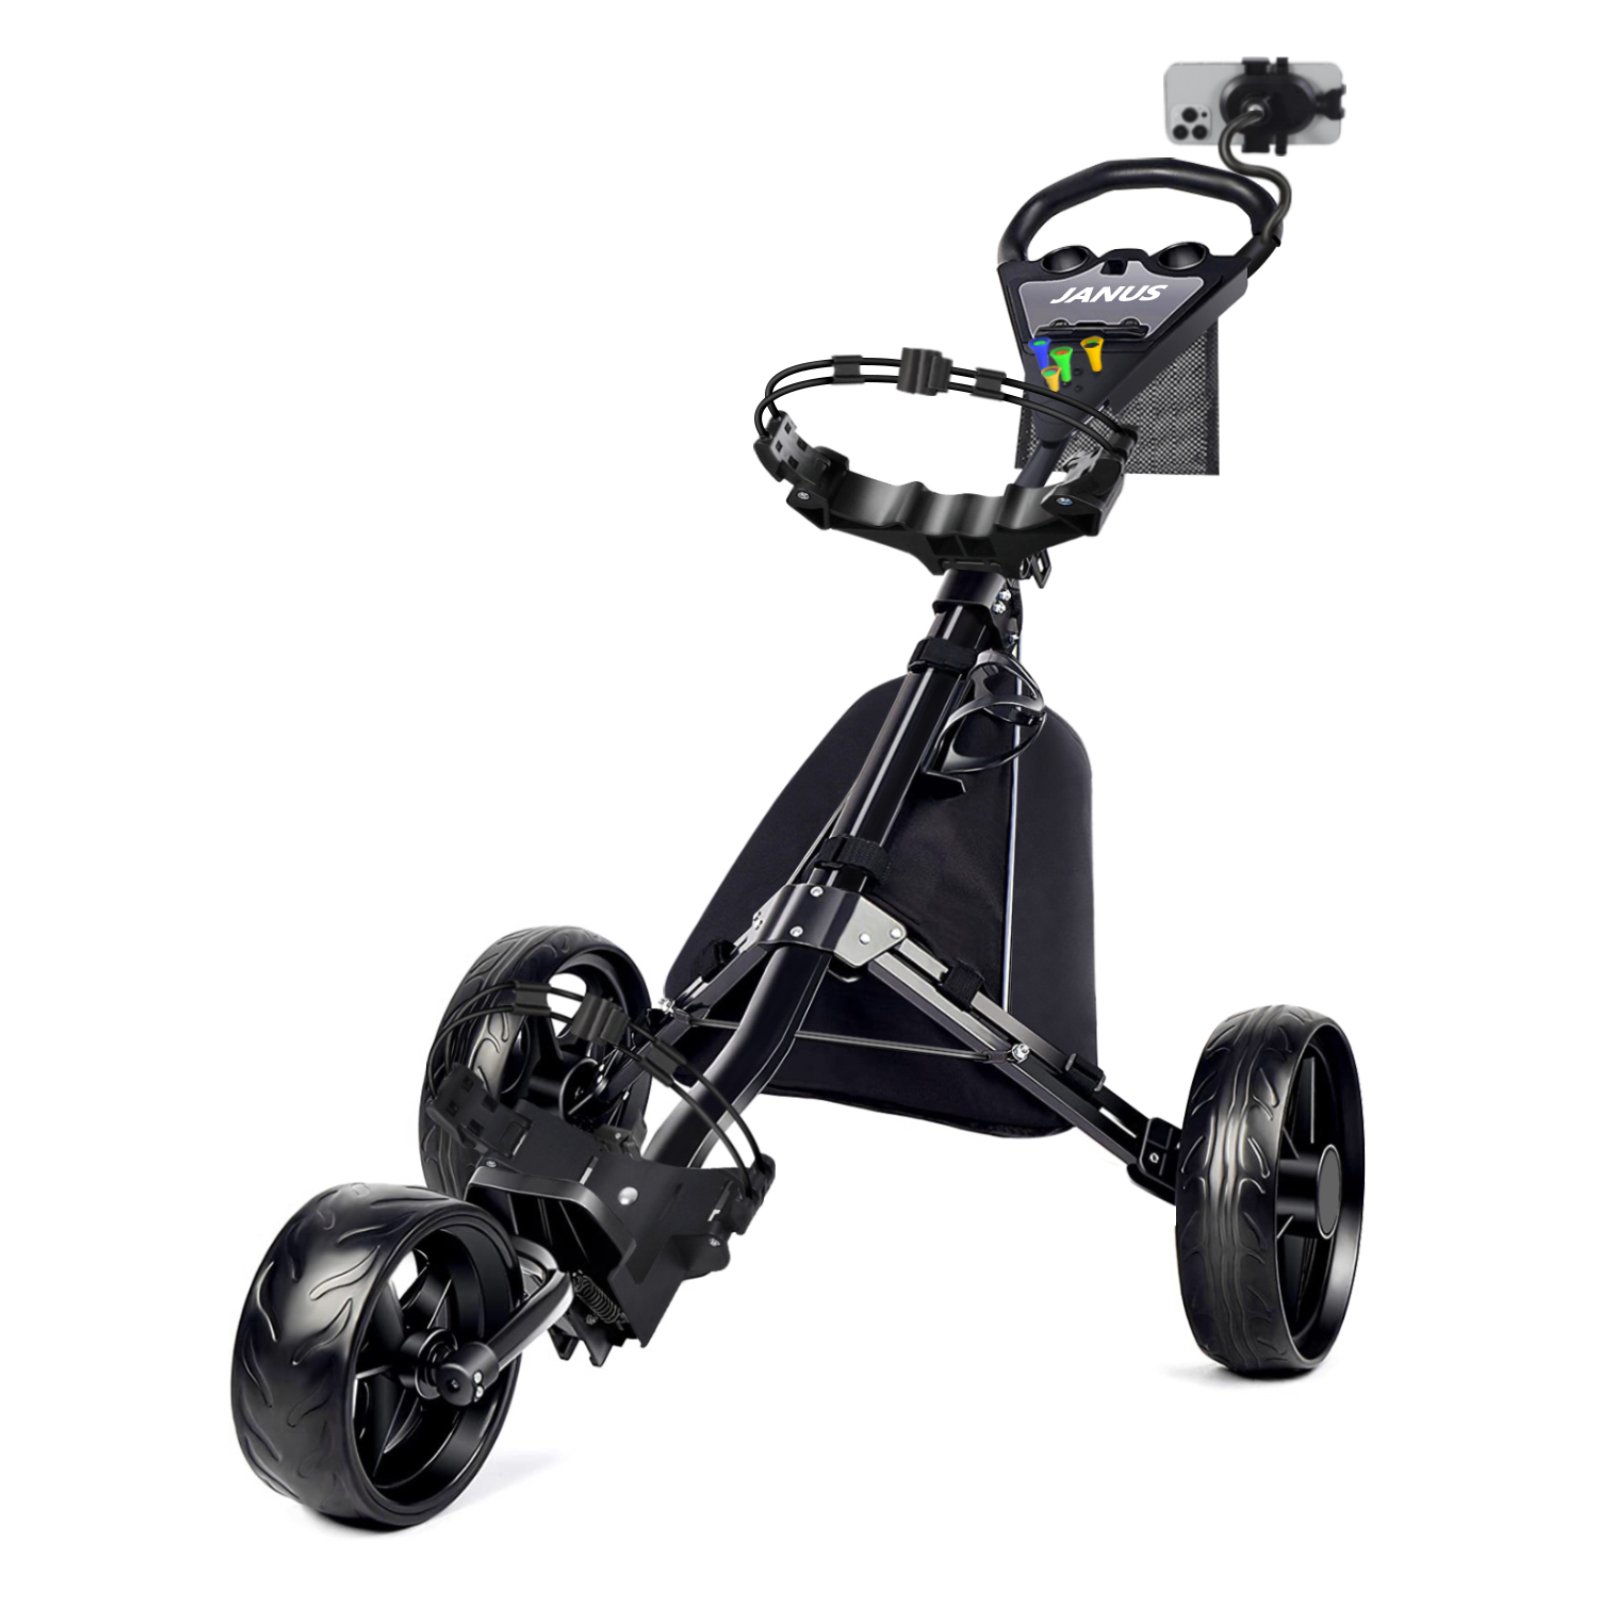
The appearance after successful installation, the appearance of folding, and the appearance of carrying the golf bag.
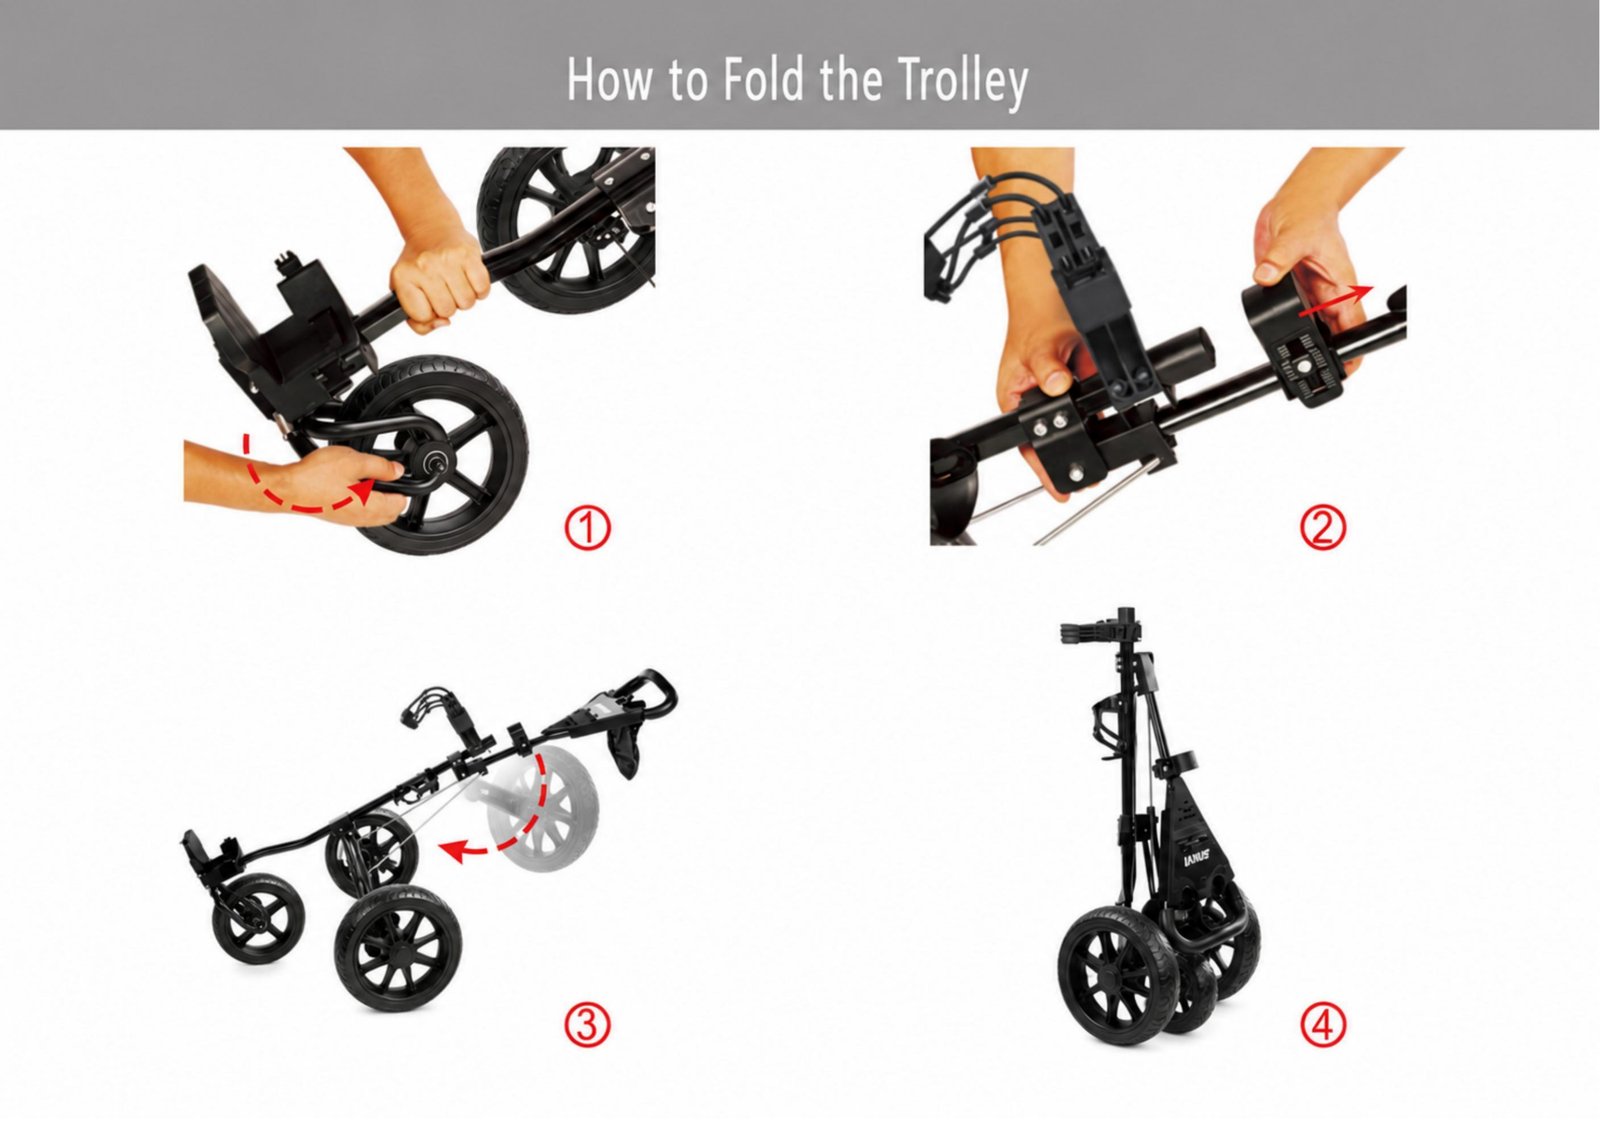
How to Fold the Trolley
Ice pack, brakes, rear wheel mount removal button
Insulation bag and storage bag; Rear wheel disassembly button; Foot brake button.
The product is black the color is to highlight the accessories. Labels on the console and folding view: Storage bags; Folded or assembled position.